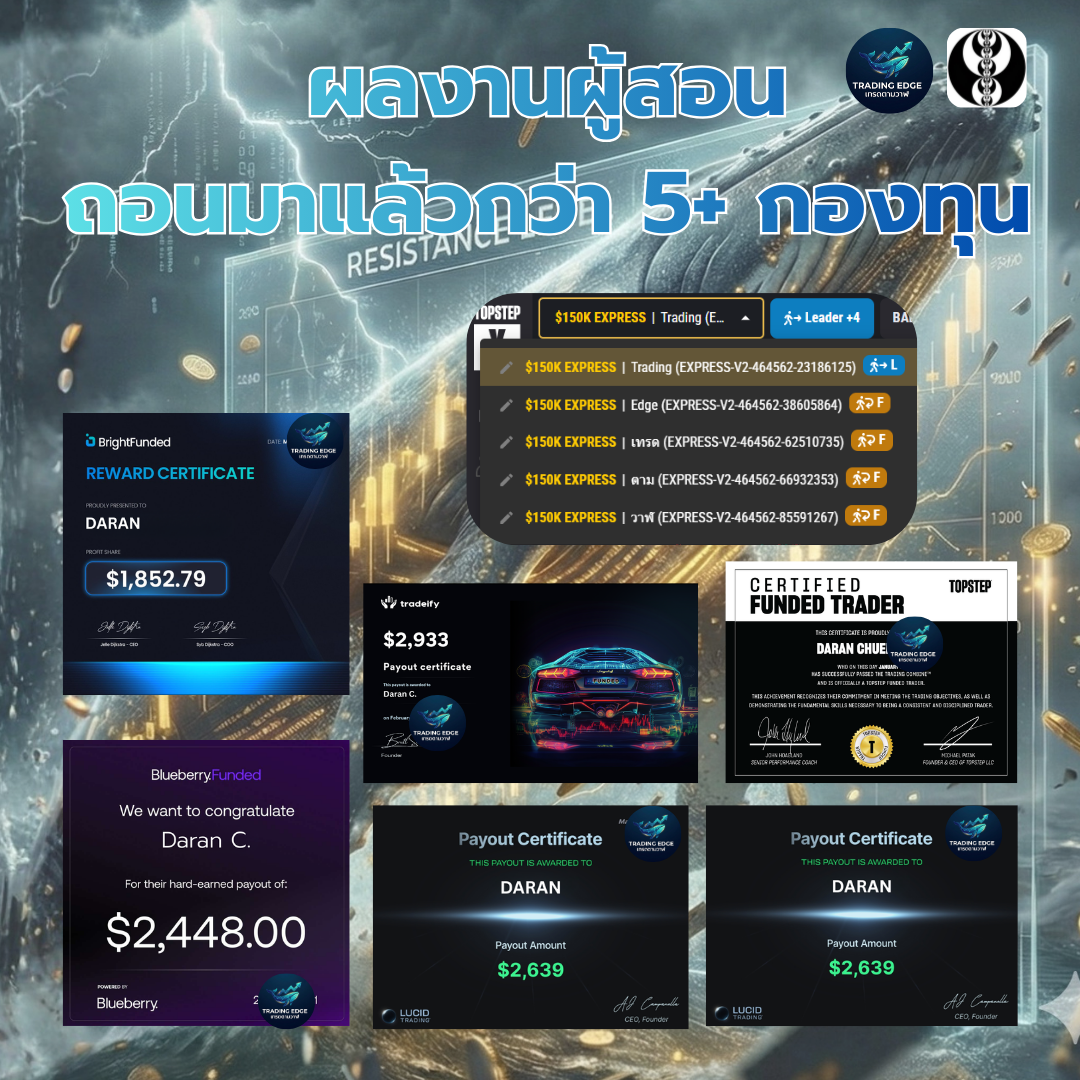
อธิบายทำไม Order Block พังบ่อย — สาเหตุที่ retail trader พลาด + กฎ refined mitigation · วิธี filter A+ OB จาก noise · เทคนิคขั้นสูงที่ใช้บนบัญชี Funded $750K · ภาพประกอบจาก TradingEdges Premium Series
"ทำไม Order Block ถึง fail บ่อยจัง?" — คำถามนี้ผมได้ยินทุกครั้งหลังเทรดเดอร์เริ่มเรียน ICT ได้ 2-3 เดือน · คำตอบไม่ใช่ "OB ใช้ไม่ได้" — คือคุณยังไม่รู้วิธี filter A+ OB จาก retail noise · บทความนี้เจาะลึก
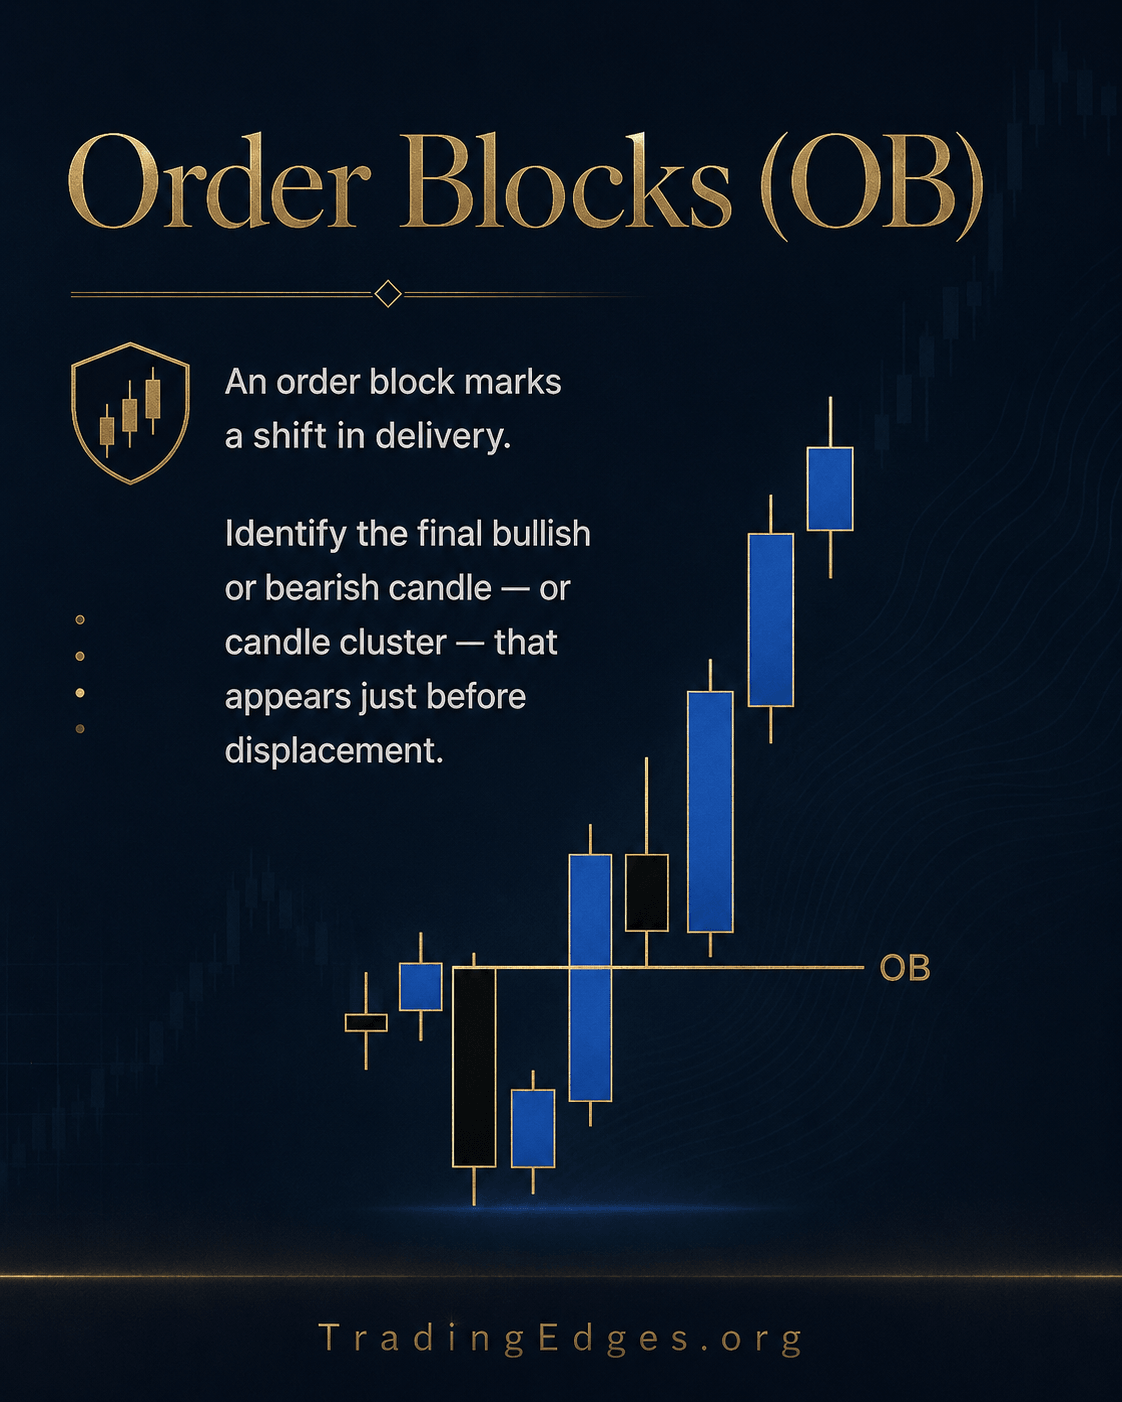
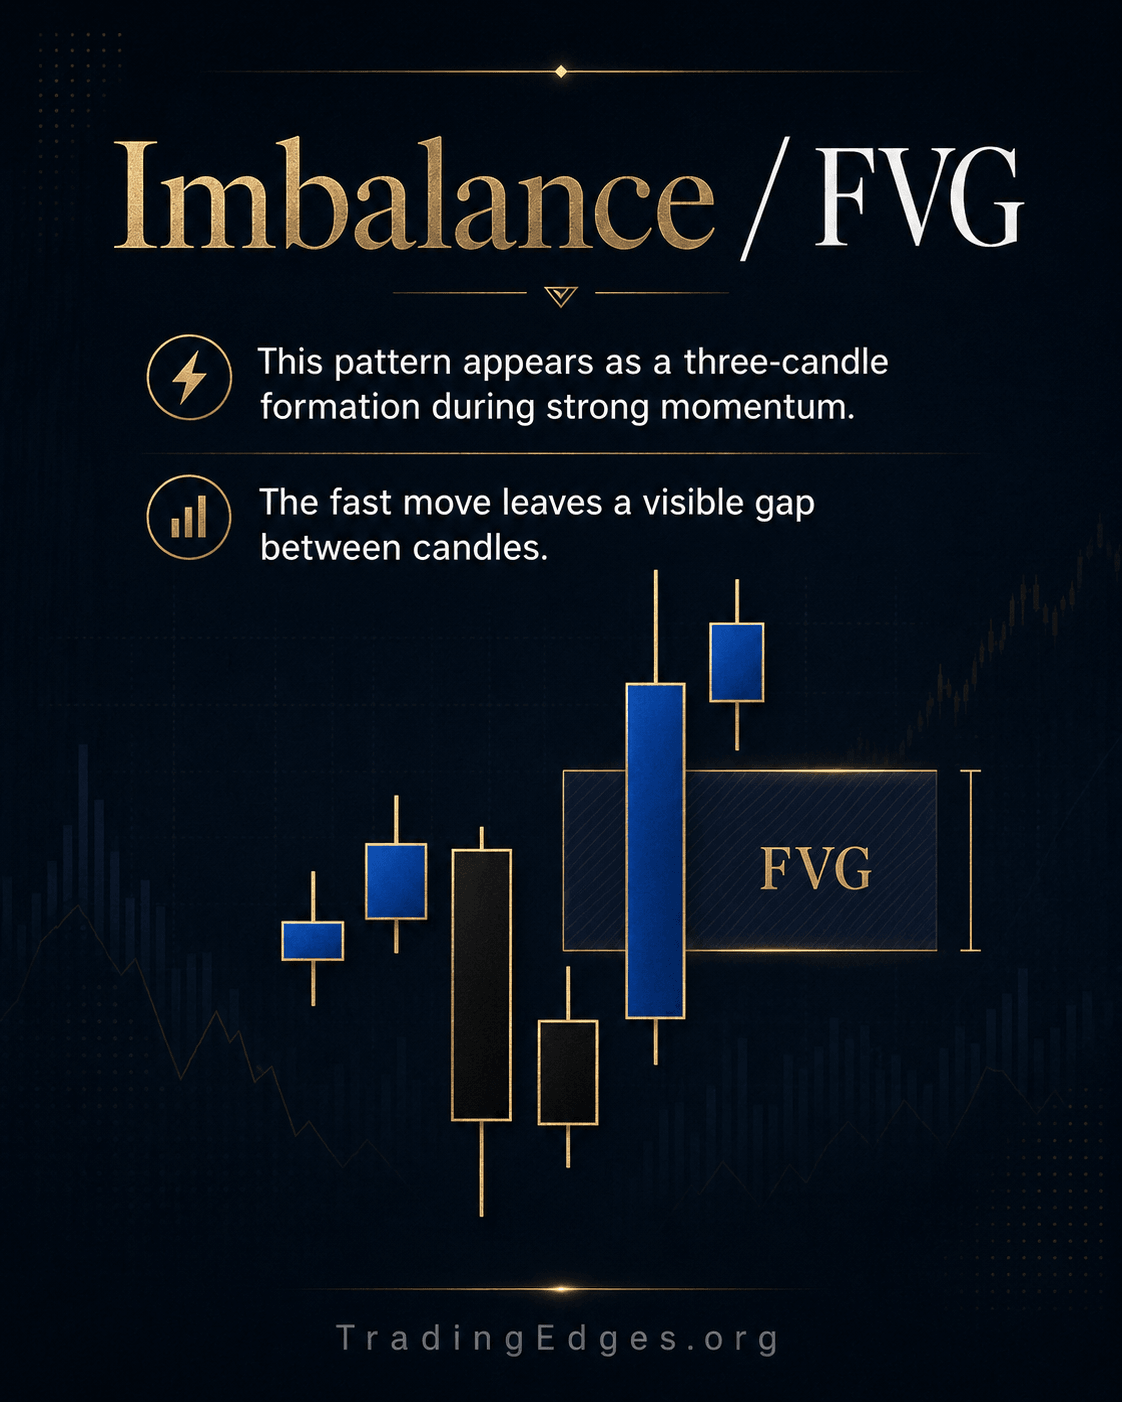
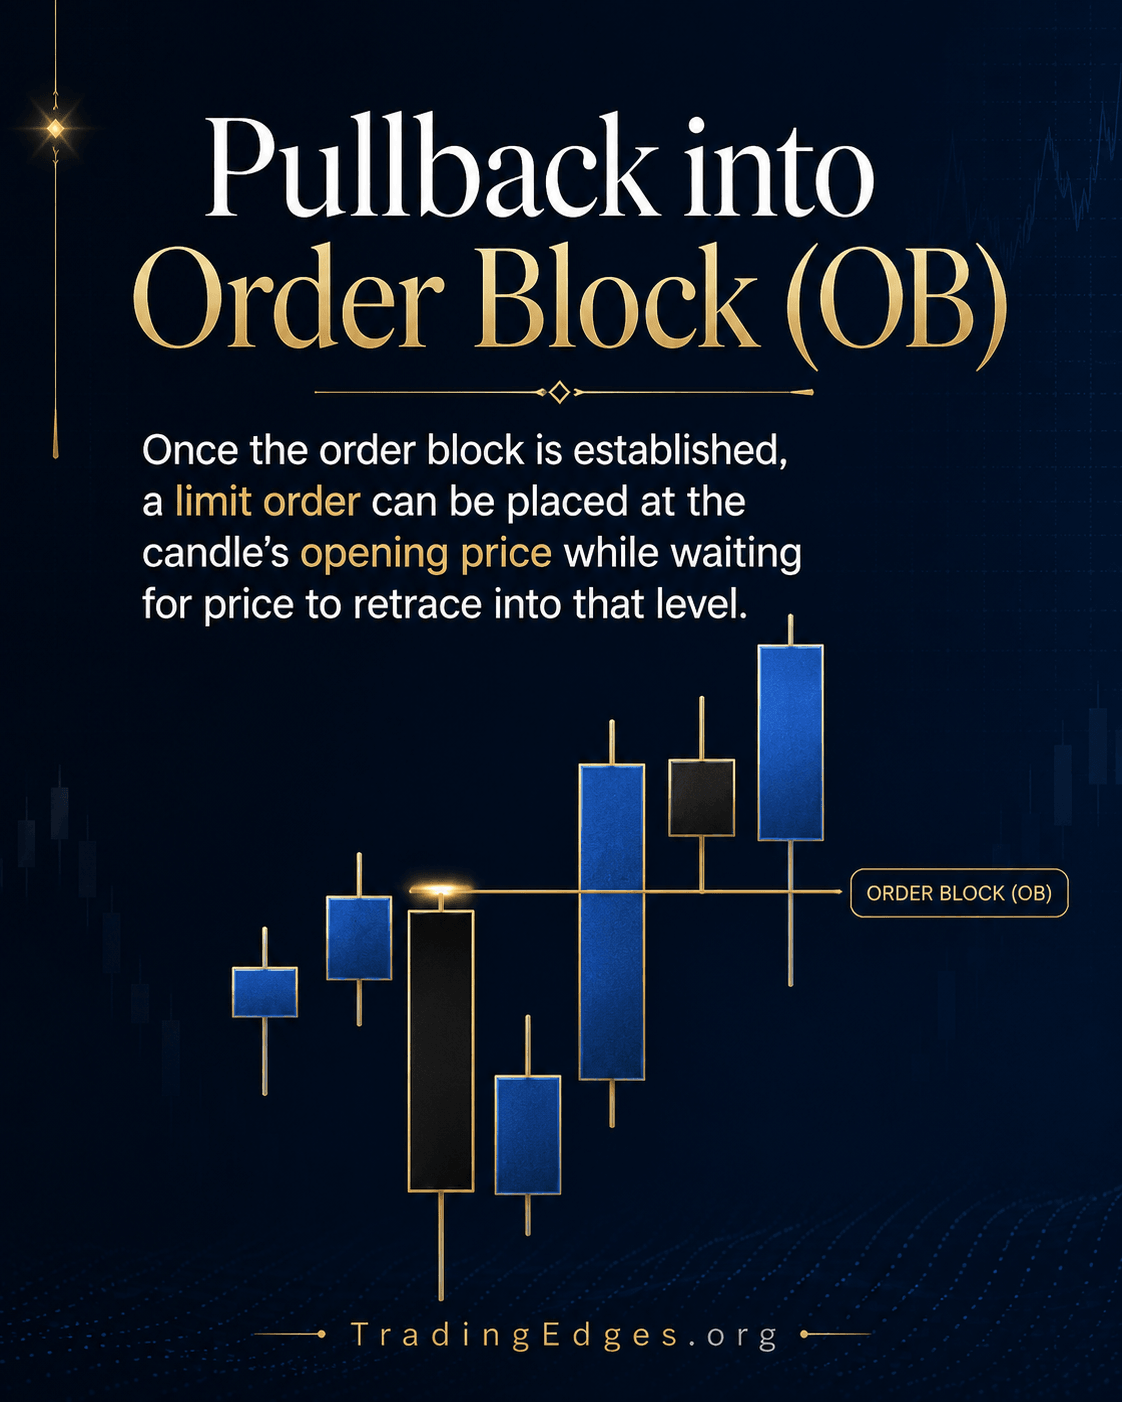
1. สาเหตุ #1 — OB ที่ไม่มี Displacement แรง
OB ต้องเกิดก่อน impulsive displacement ชัดเจน · ถ้า displacement weak (range, choppy, slow grind) = OB ปลอม · เทรดเดอร์มือใหม่ mark ทุก opposite candle เป็น OB → ส่วนใหญ่เป็น noise
Rule: ต้องเห็น BOS (Break of Structure) หลัง OB ภายใน 3-5 candles + range ของ displacement ≥ 2x ATR · ไม่ผ่านเกณฑ์นี้ = ไม่ใช่ OB
2. สาเหตุ #2 — OB อยู่ผิด Array (Premium/Discount)
Bullish OB ใน premium zone (สูงกว่า 50% ของ HTF swing) = trap · institutional ไม่อยาก buy แพง · OB จะถูก break ไปสร้าง equilibrium ใหม่
Rule: Bullish OB ต้องอยู่ใน discount array (ต่ำกว่า 50%) · Bearish OB ต้องอยู่ใน premium array · ตรวจ array ก่อน entry ทุกครั้ง
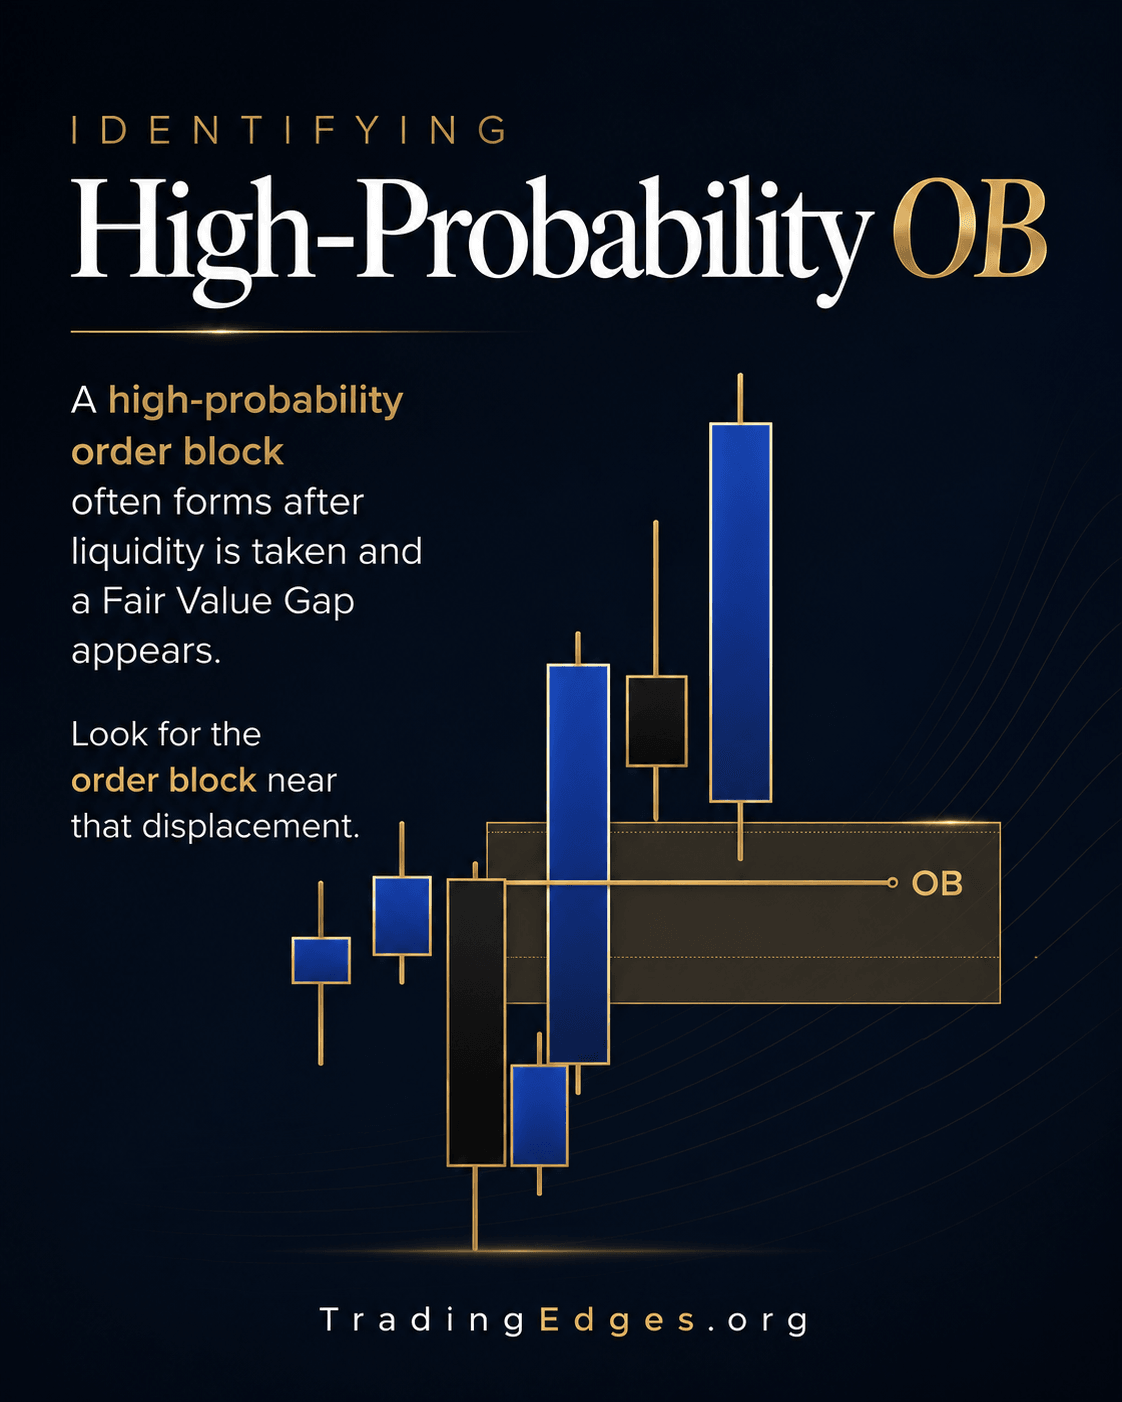
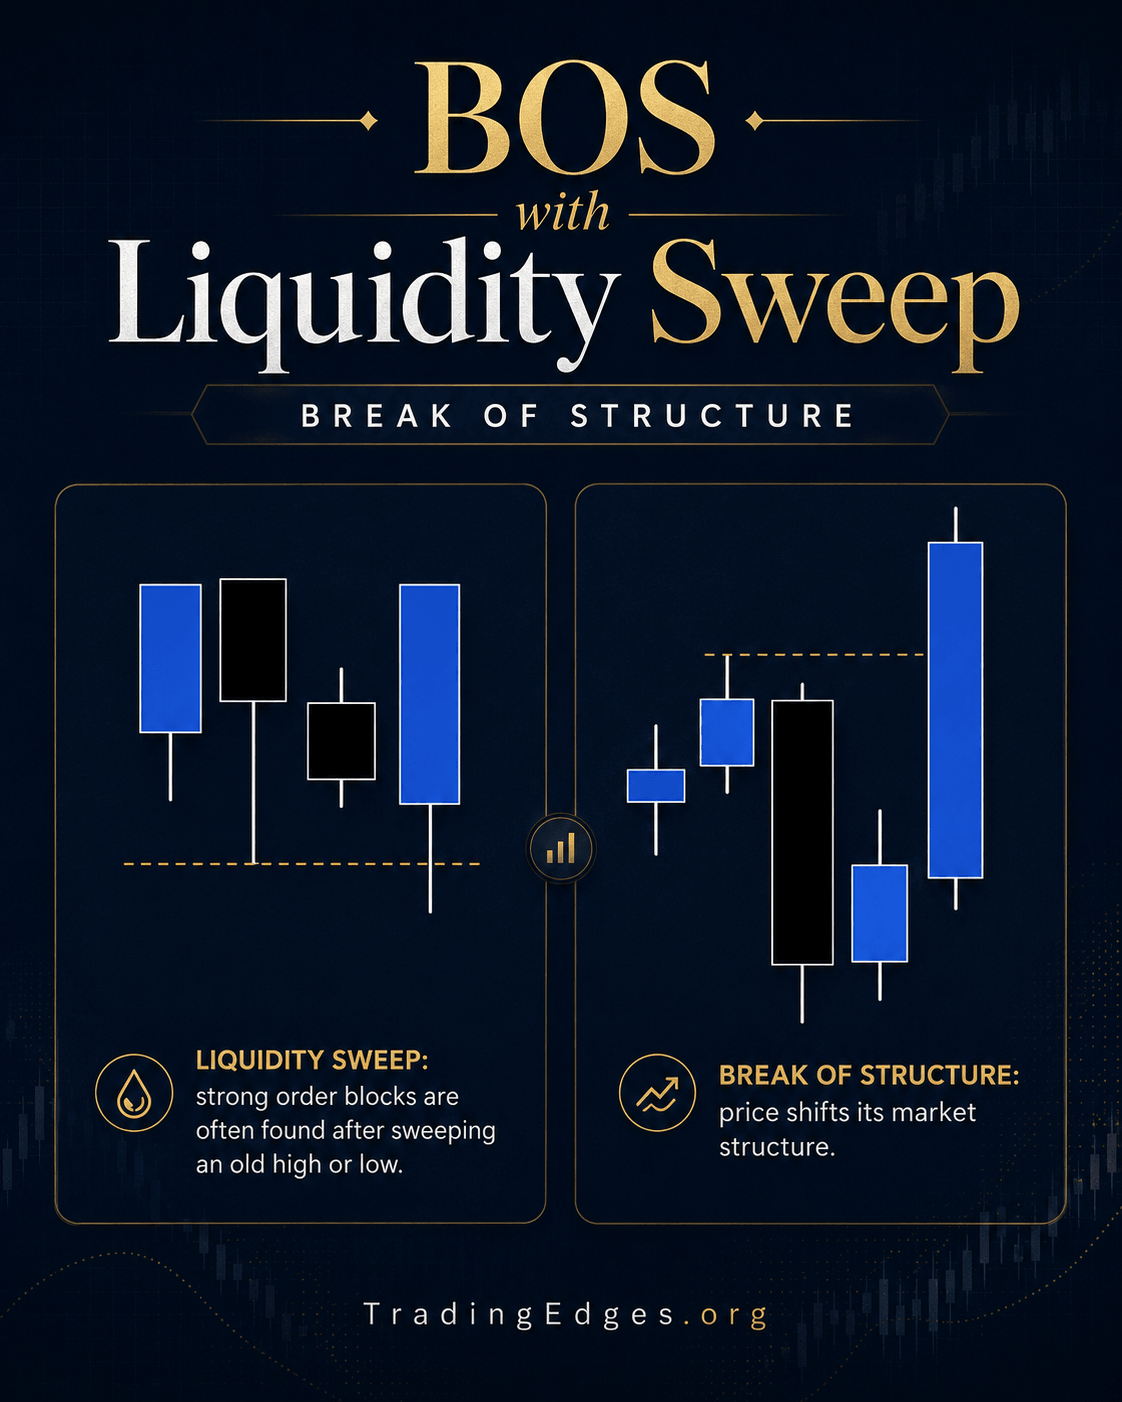
3. สาเหตุ #3 — Liquidity ข้างใต้ถูก Sweep แล้ว
OB ที่ "ดี" ต้องมี liquidity ค้างใต้ (สำหรับ bullish) ที่ยังไม่ถูก sweep · ถ้า sweep แล้ว → smart money ไม่มีเหตุผลต้อง defend OB อีก
Rule: ก่อน entry → ดูว่า liquidity pool ข้างใต้ OB ยังอยู่ครบไหม · ถ้า sweep แล้ว → skip · OB นั้น dead
4. สาเหตุ #4 — News / Macro Flow Override
NFP, FOMC, CPI sweep ทุก technical structure · แม้ OB คุณภาพ A+ ก็ถูก break ใน news
Rule: ไม่เทรด OB ใน 30 นาทีก่อน-หลัง major news · ใช้ Forex Factory calendar เช็คทุกวัน · skip news day ดีกว่า trade แล้วเสีย

5. Refined Mitigation — กฎ Entry แบบ Pro
Mitigation rule ที่ Pro ใช้:
1. รอราคา retest OB · ไม่ entry tap แรก 2. wait for confirmation candle ที่ปิดในทิศ OB direction 3. Drop ลง LTF (5m/1m) หา micro-OB ใน OB 4. Entry ที่ micro-OB · stop เล็กกว่ามาก 5. TP ที่ liquidity ถัดไป + partial 50% ที่ 1:1 RR
Win rate setup นี้ ~ 65-70% vs OB เดี่ยวๆ 40-45%
มีบท Advanced OB ครบ — Refined Mitigation, Breaker Block, Mitigation Block, Inversion FVG · ใช้กับบัญชี Funded จริง
6. Breaker Block — เมื่อ OB พังกลายเป็น Resistance
Failed OB ที่ price burst through กลายเป็น Breaker Block · ราคาที่กลับมา test breaker block มักจะ reject — เพราะ trader ที่ติดอยู่ฝั่ง OB เดิม กลายเป็น sellers/buyers ตอน price กลับมา
Breaker Block setup: รอ OB break + price ไป hunt liquidity ฝั่งตรงข้าม + กลับมา retest old OB → short/long ตามทิศ break
7. Mitigation Block — เทคนิคที่อยู่ระหว่าง OB กับ Breaker
Mitigation Block = โซนที่ราคา return เพื่อให้ trapped traders escape at break-even ก่อนเดินทิศต่อ · ไม่ใช่ reversal · เป็น continuation pattern
Setup: หลัง break of structure → รอ price return ถึง mitigation block (consequent encroachment of failed OB) → entry ทิศ continuation · stop ฝั่งตรงข้าม mitigation block
8. Inversion FVG — Failed FVG กลับกลายเป็น Resistance
แบบเดียวกับ Breaker Block · เมื่อ FVG ถูก break = Inversion FVG (IFVG) · เดิมเป็น demand/supply → กลายเป็น opposite side
Pro use: หา FVG ที่ break บน HTF → drop LTF → entry ที่ IFVG retest พร้อม confluence (OB confluence, liquidity sweep) · RR 3:1 ขึ้นไป
สรุป — Checklist A+ OB Entry
☐ 1. Strong displacement หลัง OB (≥ 2x ATR + BOS)
☐ 2. OB อยู่ใน correct array (discount สำหรับ buy, premium สำหรับ sell)
☐ 3. Liquidity pool ข้างใต้ (bullish) / ข้างบน (bearish) ยังไม่ถูก sweep
☐ 4. ไม่ใช่ window ของ major news (NFP/FOMC/CPI ±30 min)
☐ 5. มี confluence — FVG, equal highs/lows, premium/discount alignment
☐ 6. เข้า refined mitigation — wait for retest + confirmation candle + LTF entry
ผ่านครบ 6 ข้อ = A+ setup · pro trader skip OB ที่ไม่ผ่าน checklist · "ไม่เทรด" ดีกว่า "เทรดผิด"
เจาะลึก concept อื่น:
Inner Circle Trader Bible 500 หน้า · OB advanced, IFVG, Mitigation Block, Breaker, Premium/Discount · จ่ายครั้งเดียวอ่านตลอดชีพ
คำถามที่พบบ่อย
ทำไม OB ที่ผมเทรดมัก fail ทั้งที่ดูตรงตามสูตร?+
สาเหตุที่พบบ่อยสุด: (1) displacement ไม่แรงพอ (2) OB อยู่ใน wrong array (3) liquidity ถูก sweep ไปแล้ว (4) อยู่ใน news window · ตรวจ checklist 6 ข้อก่อน entry · ถ้าไม่ผ่านครบ skip · OB เดี่ยวๆ win rate 40-45% · OB ผ่าน checklist 65-70%
Breaker Block vs Mitigation Block ต่างกันยังไง?+
**Breaker Block** = reversal pattern · OB เดิมพังแล้ว price กลับมาใช้เป็น opposite resistance/support **Mitigation Block** = continuation pattern · ราคา return เพื่อ allow trapped traders escape break-even ก่อนเดินทิศต่อ Breaker = ทิศกลับ · Mitigation = ทิศเดิม · ต่างกันโดยสิ้นเชิง
OB ใน 1m/5m ใช้ได้ไหม?+
ได้ — แต่ noise สูงมาก · pro trader ใช้ OB บน HTF (4H/Daily) เป็น bias + drop ลง 1m/5m หา micro-OB ภายใน HTF OB · ไม่ trade 1m OB เดี่ยวๆ · win rate ต่ำเกินไป
ถ้า news วันนั้นมี 3 ครั้ง ทำไง?+
Skip ทั้งวัน · เทรด crypto session (Asia hours) แทน · หรือใช้ macro-light pair (NZD pairs, exotic) ที่ไม่ react กับ US/EU news แรง · pro trader Funded หลายคนเลือก skip news day · "no trade" คือ best trade บางวัน
- Michael J. Huddleston (ICT) — Advanced Order Block mentorship (private)
- TradingEdges ICT Concept Playbook — 500 pages
- TradingEdges Order Block Basics article